
Last updated September 20, 2026
Full 25-point door and opener safety check with every visit - springs, cables, rollers, tracks, and your LiftMaster or Chamberlain opener included
You get a price before we start. It does not change when the truck arrives.
 Before
 After
After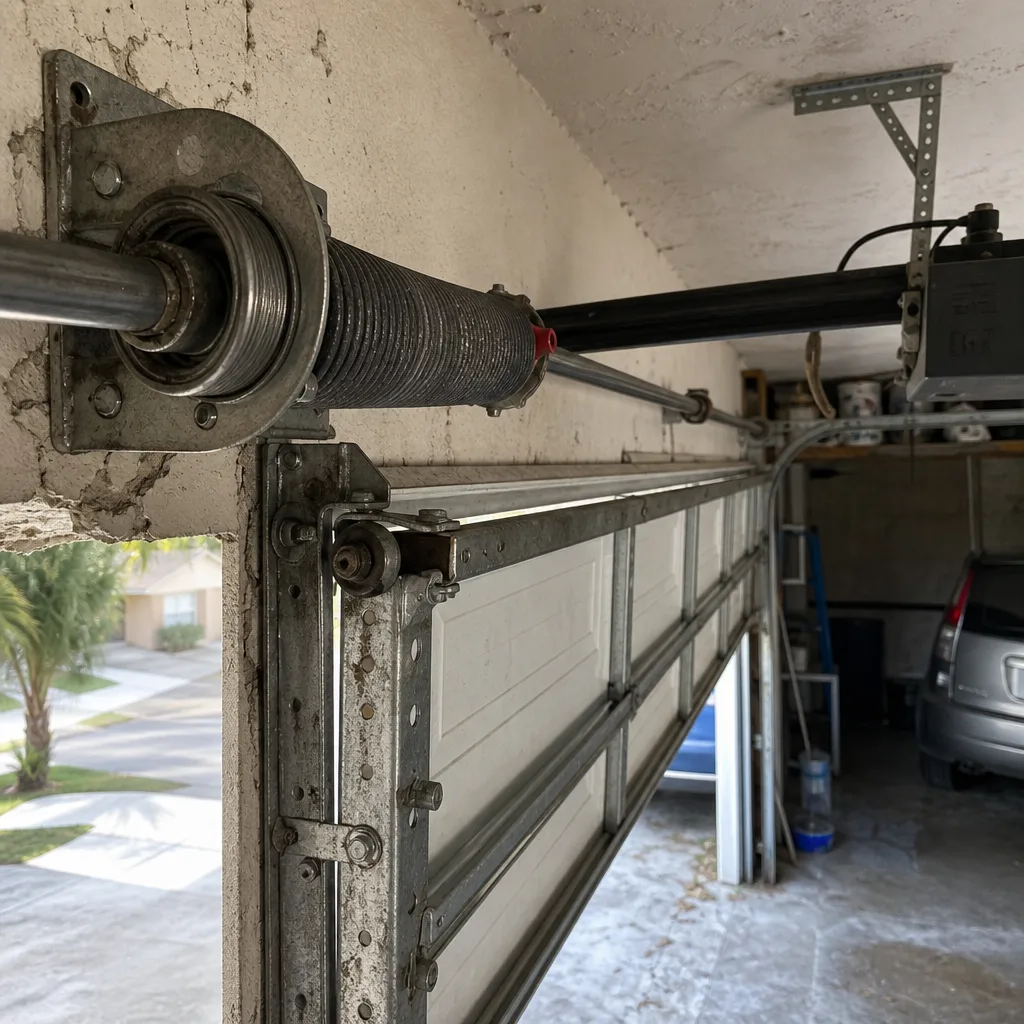 Before
 After
After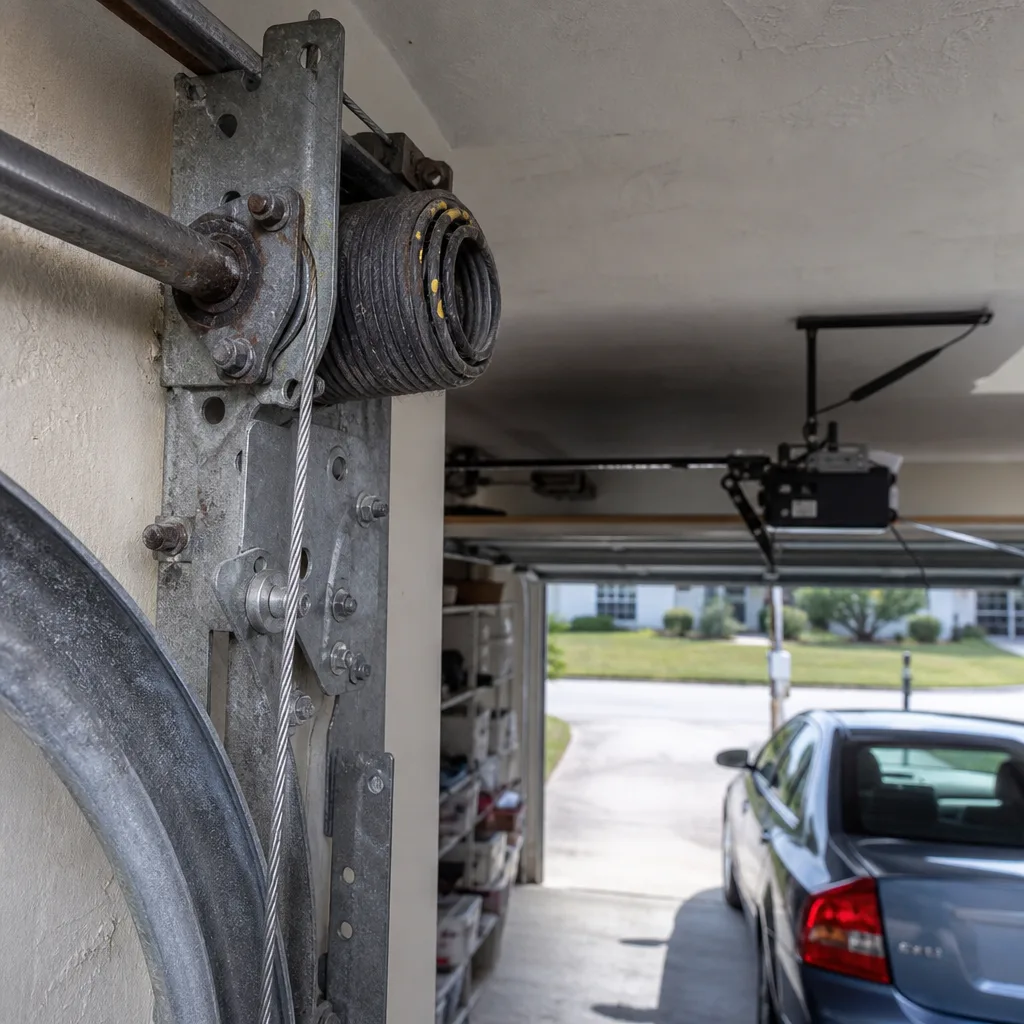 Before
 After
AfterGarage Door Repair Maintenance Checklist for Boynton Beach Homeowners
The manufacturer’s recommended lubrication interval is typically every 12 months. In a coastal environment with daily humidity above 70%, that interval produces visible surface rust on uncoated steel rollers by month eight. The schedule itself is the maintenance gap. This guide is built around what actually fails on garage doors in Boynton Beach, and when those failures happen, so you can catch wear before it becomes a repair bill. You’ll get a month-by-month calendar calibrated to South Florida’s two real seasons, the exact products to use and avoid, and the measurements that tell you whether your door is balanced.
Quick Answer
A Boynton Beach garage door maintenance checklist should run on a bi-monthly lubrication schedule (every 2 months, not every 12), include a pre-hurricane hardware inspection in April or May, and end with a documented post-storm inspection in October or November. The three most important items are spring lubrication with white lithium grease, roller inspection for rust and bearing wear, and a balance test using a tape measure to confirm the door holds position at the halfway point.
Table of Contents
- Why the Manufacturer Schedule Fails in Boynton Beach
- The Boynton Beach Maintenance Calendar: Month by Month
- Lubricants: What to Use, What to Skip, and Why WD-40 on Springs Is a Mistake
- Three Measurements That Reveal an Unbalanced Door
- How to Document Each Inspection with Photos
- What Good Enough Looks Like vs. What Requires a Licensed Technician
- Common Mistakes to Avoid
- When to Call a Professional
- Frequently Asked Questions
- The Bottom Line
BeforeAfterWhy the Manufacturer Schedule Fails in Boynton Beach
Manufacturer maintenance booklets are written for a national average. That average includes dry climates like Phoenix and cold climates like Minneapolis. Boynton Beach sits at roughly 26 degrees latitude with average relative humidity between 72 and 78 percent for most of the year, plus salt-heavy air within a few miles of the coast. Those two factors change what fails, and how fast.
We’ve pulled failed components off doors in this area since 2015. The pattern is consistent: uncoated steel rollers on doors near the Intracoastal show surface rust by month eight if lubricated on a 12-month schedule. By month fourteen, the bearings start grinding instead of spinning smoothly. The homeowner hears the change as a “rough” or “gritty” sound when the door moves. That isn’t necessarily a broken roller yet, but it tells us the roller wants attention before it seizes or wears a flat spot - one of the key Garage Door Warning Signs: A Boynton Beach Homeowner’s Reference Guide we recommend monitoring.
The second issue with the generic schedule is that it ignores storm season entirely. A four-season maintenance calendar will tell you to check weatherstripping in the fall. In Boynton Beach, you need the bottom seal inspected before June 1 and re-checked after the last named storm of the season. Salt spray and wind-driven rain degrade the rubber seal faster here than in inland communities, and a gap at the bottom corner lets standing water into the garage during a heavy downpour. That water finds its way to the floor track brackets and the bottom panel, which accelerates rust on the hardware and eventually delaminates the panel edge.
The manufacturer schedule is not wrong. It is simply calibrated for a different climate. Adjusting the intervals is the single highest-value maintenance change a Boynton Beach homeowner can make, and it costs nothing.
The Boynton Beach Maintenance Calendar: Month by Month
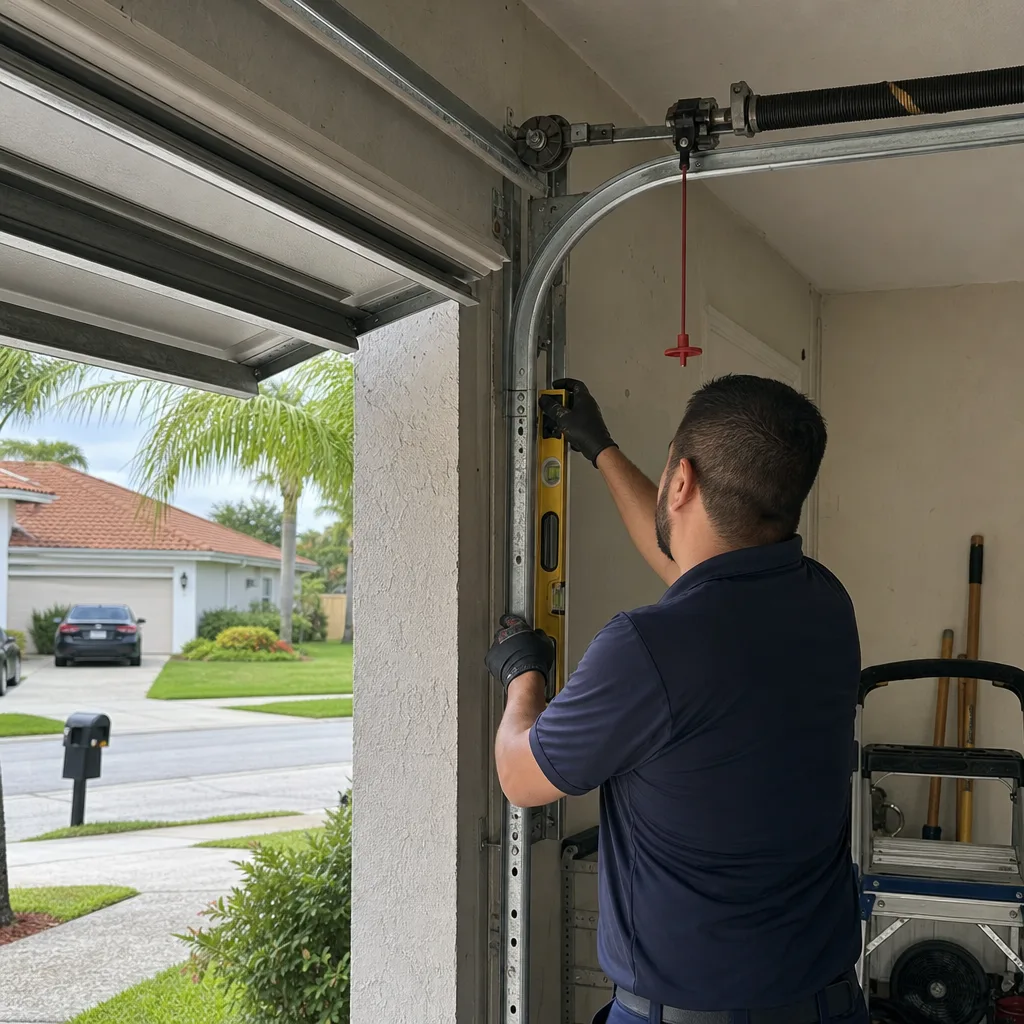
Boynton Beach has two functional maintenance seasons: storm prep (April through May) and post-storm recovery (October through November). The remaining months are for routine lubrication and inspection. Here is what to do, and when.
January – March: Dry Season Inspection
- Lubricate the torsion spring. Use white lithium grease spray, applied in a thin, even coat along the full length of the coil. The spring should look wet, not caked.
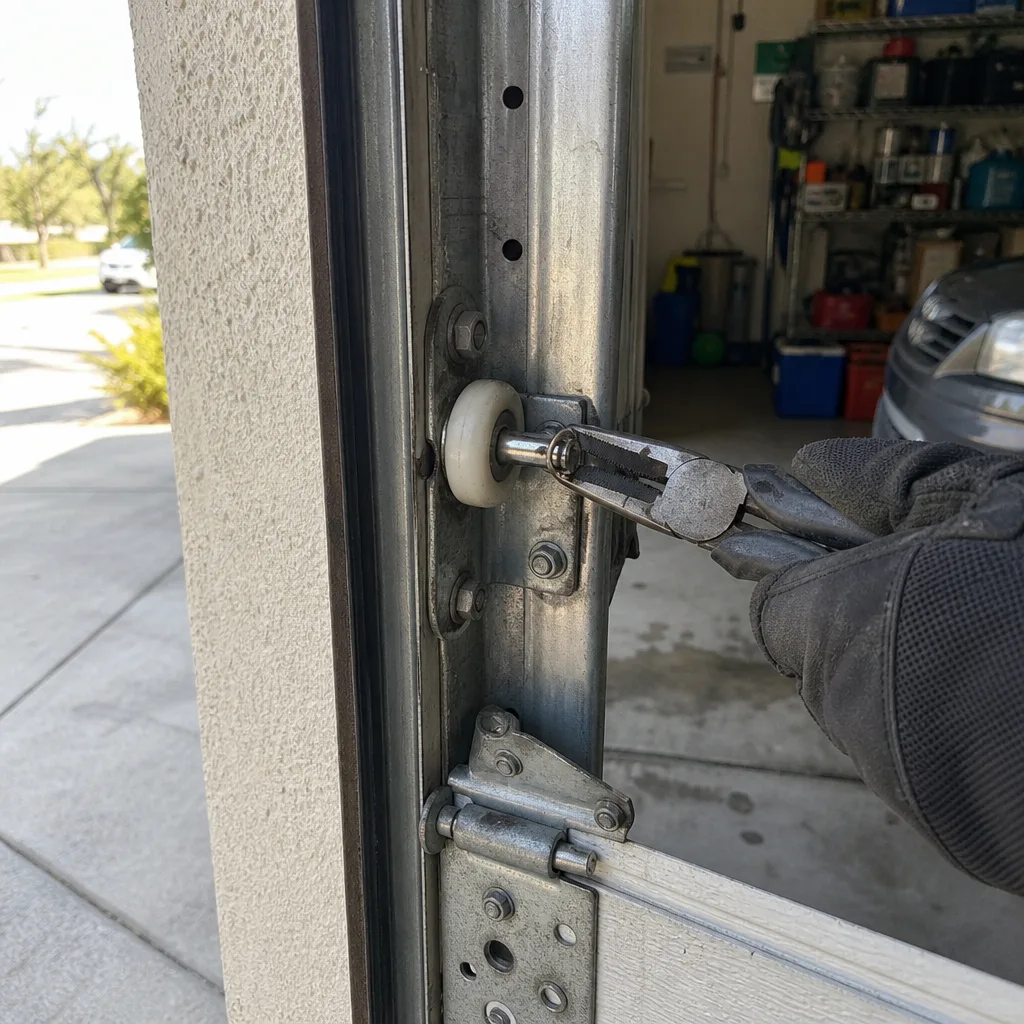
- Clean and inspect the rollers. Wipe each roller with a dry cloth. Look for rust on the wheel surface and listen for a grinding sound when the door moves. Rollers with sealed ball bearings should move quietly; if one sounds rough, it is on its way out.
- Tighten visible hardware. The vibration of daily open-close cycles loosens track brackets and hinge bolts over time. A 7/16-inch socket will catch most hinge bolts on a standard residential door.
- Test the auto-reverse safety feature. Place a 2×4 flat on the floor under the door path and close the door. It should reverse within two seconds of contact. (Note: never place your hands or body in the door’s path to test this. The 2×4 method was developed for this exact reason - a wooden block signals the safety system without putting a person at risk.)
April – May: Pre-Hurricane Prep
Hurricane season begins June 1. Every Boynton Beach homeowner should perform a pre-season hardware inspection no later than mid-May. This is the single most important maintenance window of the year.
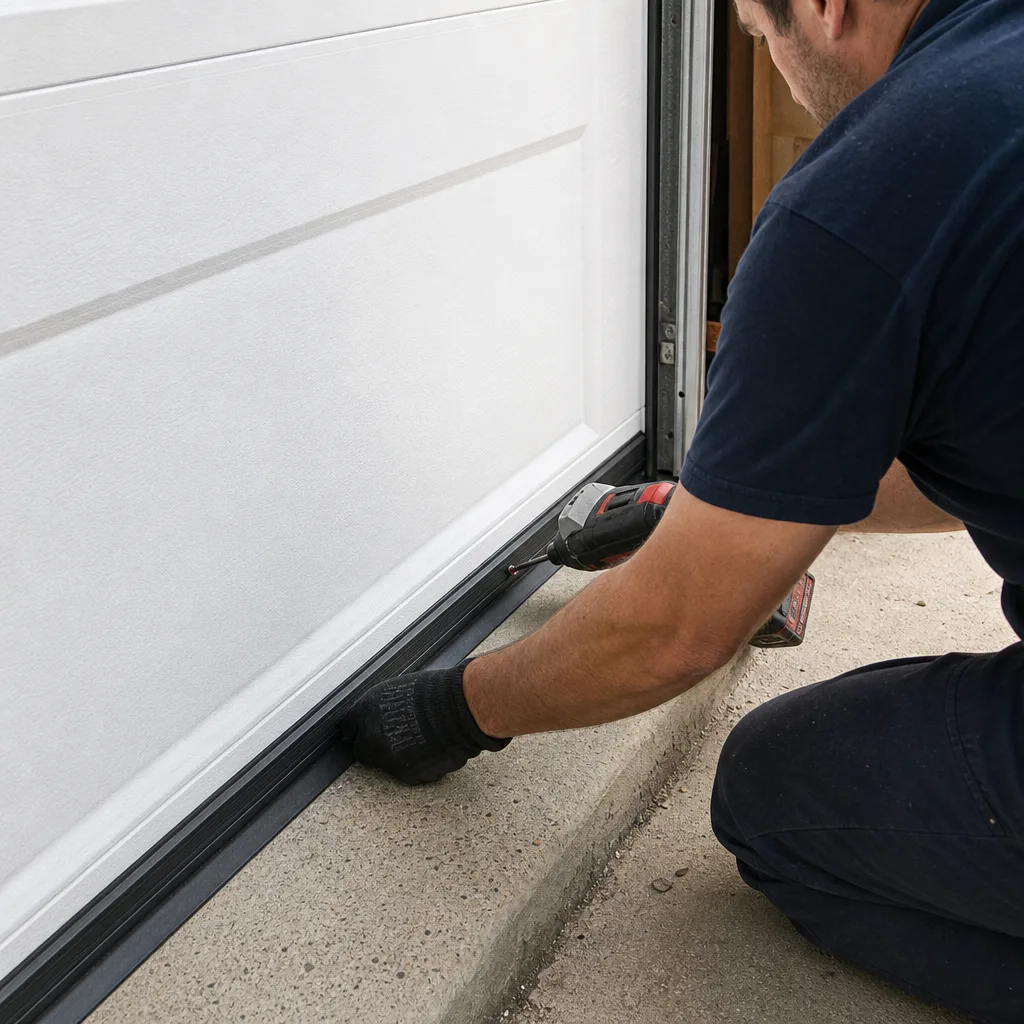
- Inspect the bottom seal. Close the door and kneel at one corner. Look for visible daylight under the rubber. In Boynton Beach, seals that are more than three years old often have hairline cracks that only open when the door is under wind load. If the rubber feels stiff or shows cracks when you pinch it, replace it before June.
- Check all hinge and bracket fasteners. Wind rating compliance for garage doors in South Florida is not just about the door panel; the attachment hardware matters just as much. Loose lag bolts at the track brackets are a common post-storm failure point.
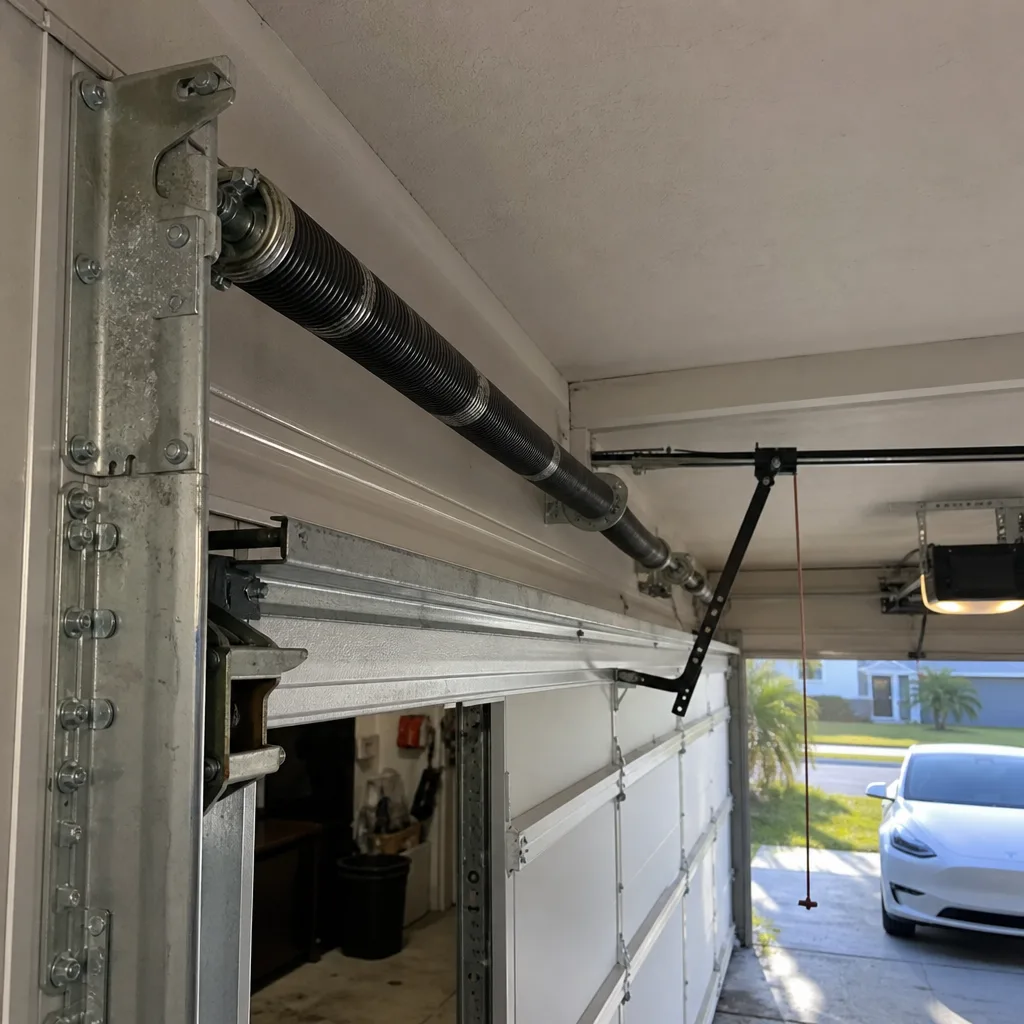
- Inspect the cable drums. Both drums (the cone-shaped wheels at each end of the torsion shaft) should show an even, tight wrap of cable, with no overlapping layers and no gaps. Uneven wrapping means the cable is starting to drift, and under storm wind pressure, a slack cable can jump the drum. If you see this, stop using the door and call a technician.
- Test the door under hand lift. Pull the emergency release cord and lift the door manually to the halfway point. Release it. The door should stay in place or drift very slowly. If it drops more than a foot, the springs are losing tension and the door is not hurricane-ready.
June – September: Storm Season Monitoring
Lubrication intervals compress during peak humidity months. Rather than a deep inspection each month, focus on three quick checks:
- Listen. A smooth-running door should make one continuous sound: a low mechanical whir. New sounds (a squeak, a grind, a knock) are the door telling you something specific. A squeak at the top of the opening cycle usually means dry hinges. A knock at the bottom means the door is meeting the floor unevenly.
- Lubricate the rollers and hinges on the 1st of each month. Two drops of oil per roller bearing (or a light spray for nylon rollers with exposed bearings) and a light coat on each hinge pivot.
- Watch for rust blooms. A rust bloom is a small dot of orange that appears where the zinc coating has worn through. On a steel roller, surface rust at month six means the coating is failing. Mark the roller with a piece of tape and check it again in two weeks. If the rust is spreading, the roller is done.
October – November: Post-Storm Inspection
After the last named storm of the season, perform a full inspection. This is the maintenance event that most homeowners skip, and it is the one that catches the most actionable problems.
- Run the door through three full cycles. Watch both cables throughout the full travel. A cable that has jumped one groove on the drum will show as a slight overlap in the wrap. This can happen during high-wind events when the door flexes.
- Photograph the door from the inside and outside, including close-ups of the bottom seal, both cable drums, both springs, and each roller. These photos become your baseline for the next inspection cycle. Without them, you cannot distinguish new damage from pre-existing wear, and you cannot show a technician what the door looked like before the storm.
- Check the header above the door opening for new cracks. Wind pressure can transfer load into the framing. Cracks in the drywall or stucco above the door are not normal settling; they are a sign the door moved under wind load and the header wants a closer look.
- Inspect the bottom seal for debris and tears. Storm surge and heavy rain push leaves, dirt, and sand against the seal. Debris caught under the seal creates a gap, and a gap admits water during the next rain.
Lubricants: What to Use, What to Skip, and Why WD-40 on Springs Is a Mistake
The wrong lubricant in a humid climate does not just fail to protect. It actively accelerates deterioration. This section covers what to use on each component, and the two common choices that cause measurable harm in Boynton Beach.
What to Use
- Torsion springs: White lithium grease spray. It clings to the coil, resists water wash-off, and is available at any hardware store for under $15. Apply to a warm spring (run the door first) for better penetration.
- Roller bearings (steel rollers): A light machine oil or 3-in-1 oil, two drops per bearing. If the rollers are nylon with exposed ball bearings, a small amount of white lithium grease works.
- Hinges: White lithium grease or garage-door-specific spray lube. Look for a product labeled “garage door lubricant” that is silicone or lithium based, not petroleum based.
- Locks and lock cylinders: Graphite powder only. Oil attracts dust and sand, which in a coastal environment becomes a grinding paste inside the cylinder.
What to Skip Entirely
WD-40 on torsion springs. WD-40 is a water displacer and a penetrating oil. It is not a lubricant in the way a spring needs. It strips residual lubricant, leaves a thin film that attracts dust, and in a humid environment the net effect is that the spring surface rusts faster than if you had done nothing. If you already sprayed WD-40 on a spring, clean it off with a dry rag and apply white lithium grease the same day.
Heavy grease on the tracks. The track is a guide rail. The roller wheels ride on the inside of the track, and anything that coats the track creates drag. Heavy grease in a coastal climate also holds salt and sand. The track should be clean and dry. If the track is rusty, replace the section, don’t grease it. (Note: garage door tracks are low-friction surfaces by design; they are not like automotive parts that require grease. Lubricating tracks is one of the most common maintenance errors we see on doors in Boynton Beach.)
Three Measurements That Reveal an Unbalanced Door
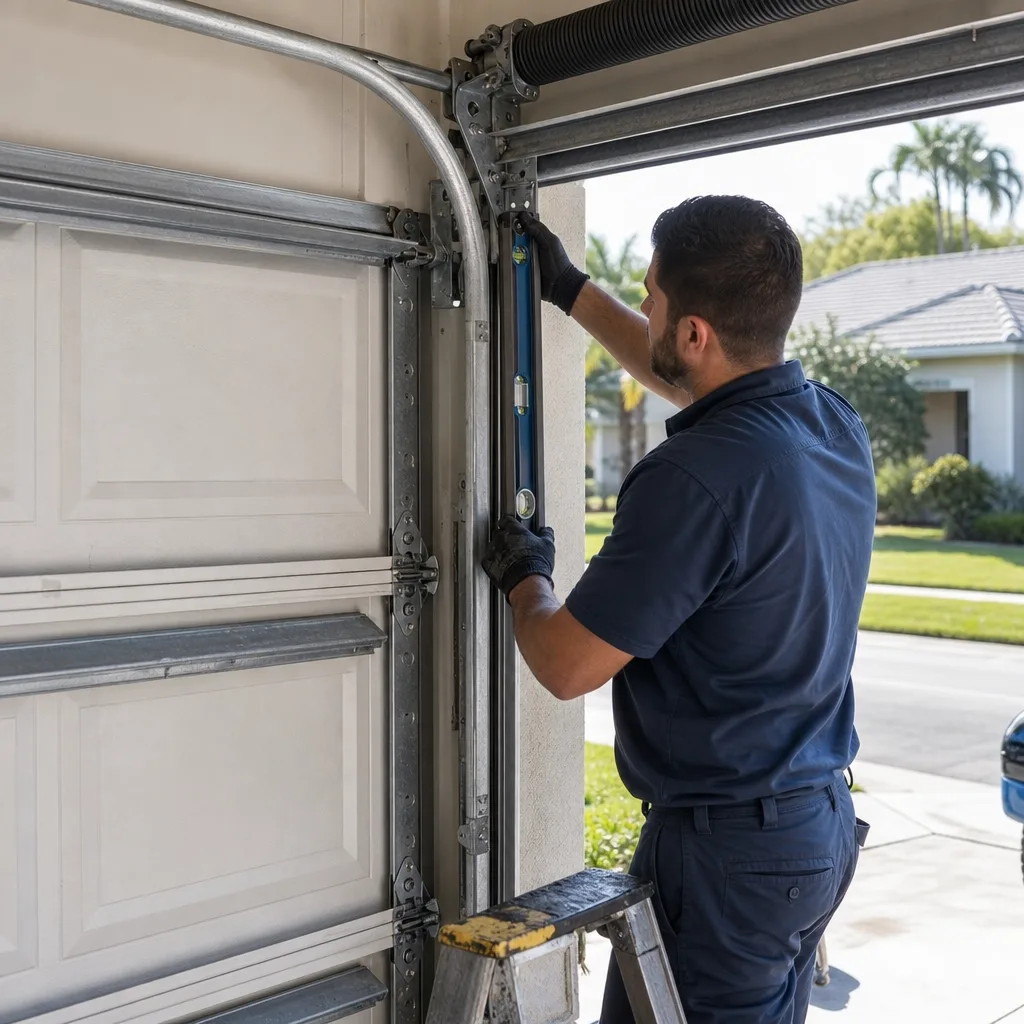
A garage door that is out of balance is the leading cause of premature opener motor failure. The opener is designed to lift about 10 to 20 percent of the door’s weight; the springs handle the rest. When the springs weaken, the opener works harder on every cycle, and the motor or the gear and sprocket assembly fails months or years earlier than it should have.
You can check the balance of your door with a tape measure, a bubble level, and about ten minutes. Here are the three measurements:
1. The Halfway Hold Test
Close the door. Pull the emergency release cord (the red handle hanging from the trolley) to disconnect the door from the opener. Lift the door manually to the halfway point of the opening - typically around waist height. Release it fully. A properly balanced door will stay in place or drift no more than six inches over five seconds. A door that drops more than a foot in that time has weakened springs. This test takes less than a minute and requires no tools.
2. The Spring Gap Measurement
Inspect the torsion spring (the long coil spring mounted on the bar above the door). With the door closed, the coils should be in nearly continuous contact with each other; the natural gap between coils on a standard residential spring is between zero and roughly 1/16 of an inch. If you can slide a nickel into the gap between any two coils, the spring has stretched permanently and is losing tension. A small gap is normal on an older spring; a gap large enough for a nickel is the difference between a door that holds and a door that sags. (This is an inspection task only - torsion springs are under enough stored tension to cause serious injury or death if removed incorrectly. A trained professional handles spring repair or replacement.)
3. The Side Gap Level Test
Close the door and stand inside the garage. Place a bubble level against the top section of the door panel, near the middle. The level should read close to horizontal - within 1/4 inch across a four-foot span. Now run the door halfway up and check again. If the level reads differently at the top of travel than at the bottom, one of the two springs is wearing faster than the other. The door is lifting unevenly, which means the cables are carrying unequal loads, which means one cable drum is being pulled out of alignment. That is the failure sequence that ends with a snapped cable or a bent track.
How to Document Each Inspection with Photos
The most underrated maintenance tool in a coastal garage is a smartphone camera. We ask our technicians to photograph what they found - it’s documented in Clause 4 of The Haven Standard, the written standard we operate under. The same logic applies to homeowner inspections. If you have a dated photo record, you can answer a technician’s questions with evidence instead of memory.
Here is the documentation routine we recommend for every Boynton Beach homeowner:
- Stand in the same spot every time. Pick two angles: one from the back of the garage facing the door (captures the springs, drums, cables, and opener rail), and one from the driveway facing the closed door (captures the panels, weatherstripping, and track ends).
- Take six close-ups. Both torsion springs (left and right), both cable drums (left and right), both bottom corners of the door (showing the seal where it meets the concrete).
- Name the file or add a note with the date. The photo metadata carries the date, but adding it to the filename (for example, “spring-left-2026-03.jpg”) makes it searchable later.
- Take a photo of anything you notice. A rust bloom, a frayed cable strand, a gap under the seal - photograph it the day you notice it, not the day you call for repair. The photo records when the issue appeared, which helps distinguish gradual wear from a sudden failure.
When a technician arrives, show them the baseline photos from the previous season. That conversation is faster and more accurate than a verbal description. You’ll see exactly what changed and when. In our experience on Garage Door Repair in Boynton Beach, the difference between a clear photo record and a homeowner description is often the difference between a 15-minute diagnosis and a 45-minute one.
What Good Enough Looks Like vs. What Requires a Licensed Technician
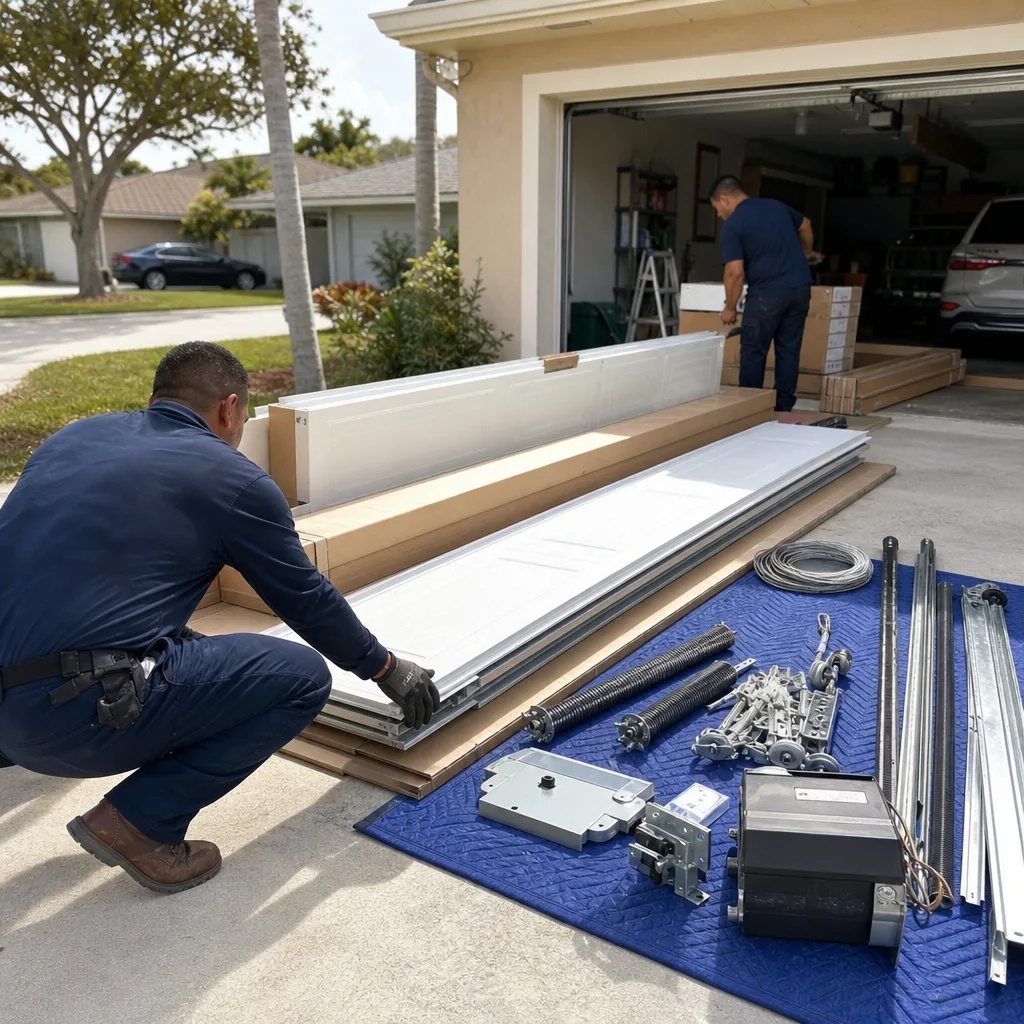
Most garage door maintenance is within reach of a careful homeowner. Some is not. The line is drawn where a mistake would create a safety hazard or when the component stores dangerous tension.
Good Enough for DIY
- Lubricating springs, hinges, and roller bearings.
- Tightening hinge bolts and track bracket lag screws.
- Cleaning the photoelectric safety sensors (the two small units mounted about six inches off the floor on each side of the opening) with a dry soft cloth.
- Replacing the bottom seal on most standard steel doors.
- Running the balance tests and safety checks described above.
- Photographing and documenting everything you find.
Requires a Licensed, Trained Technician
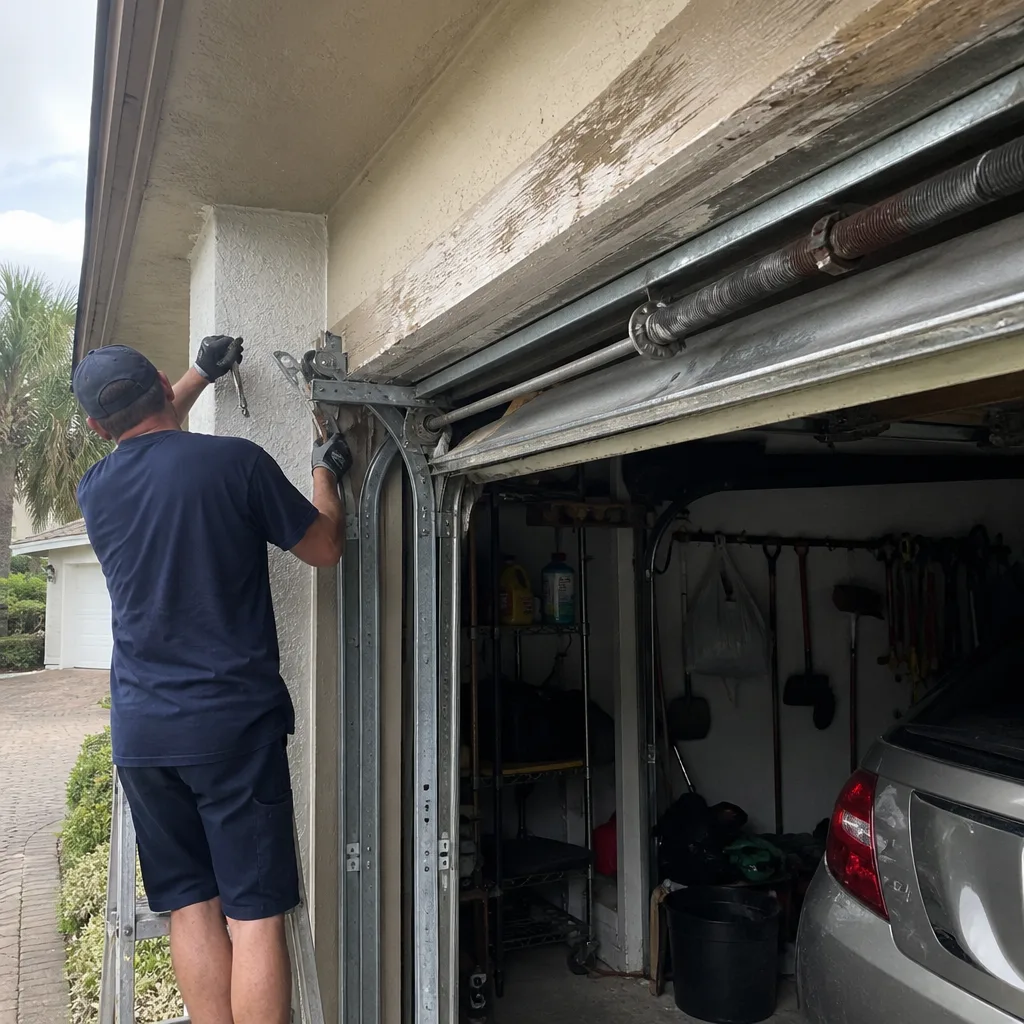
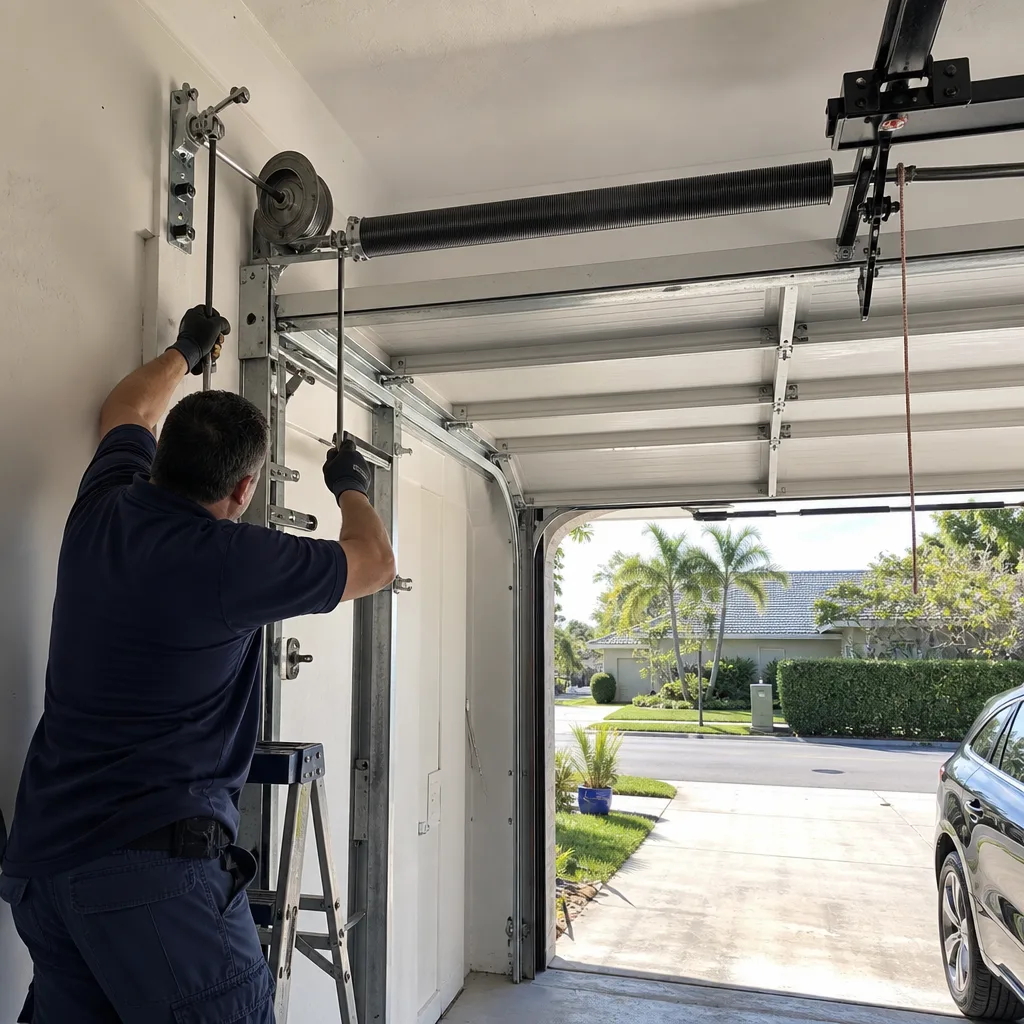
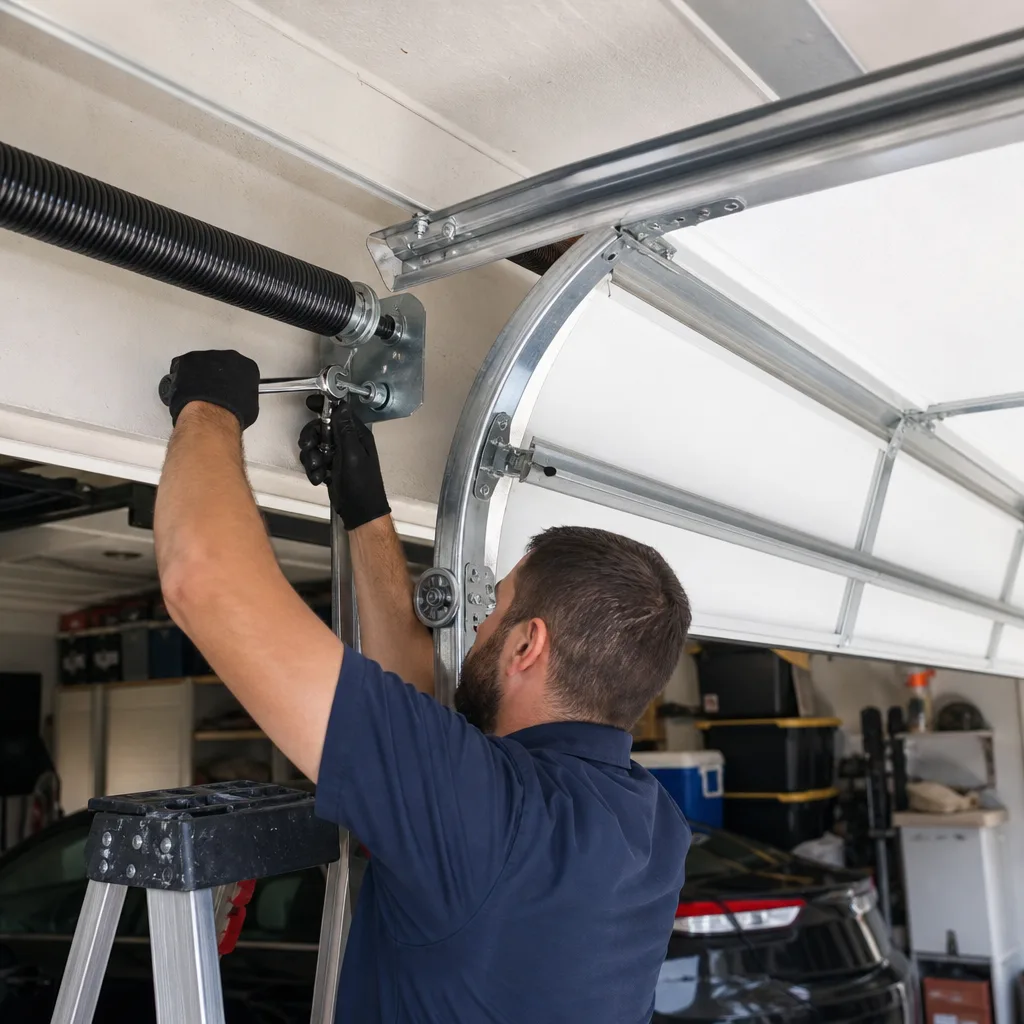
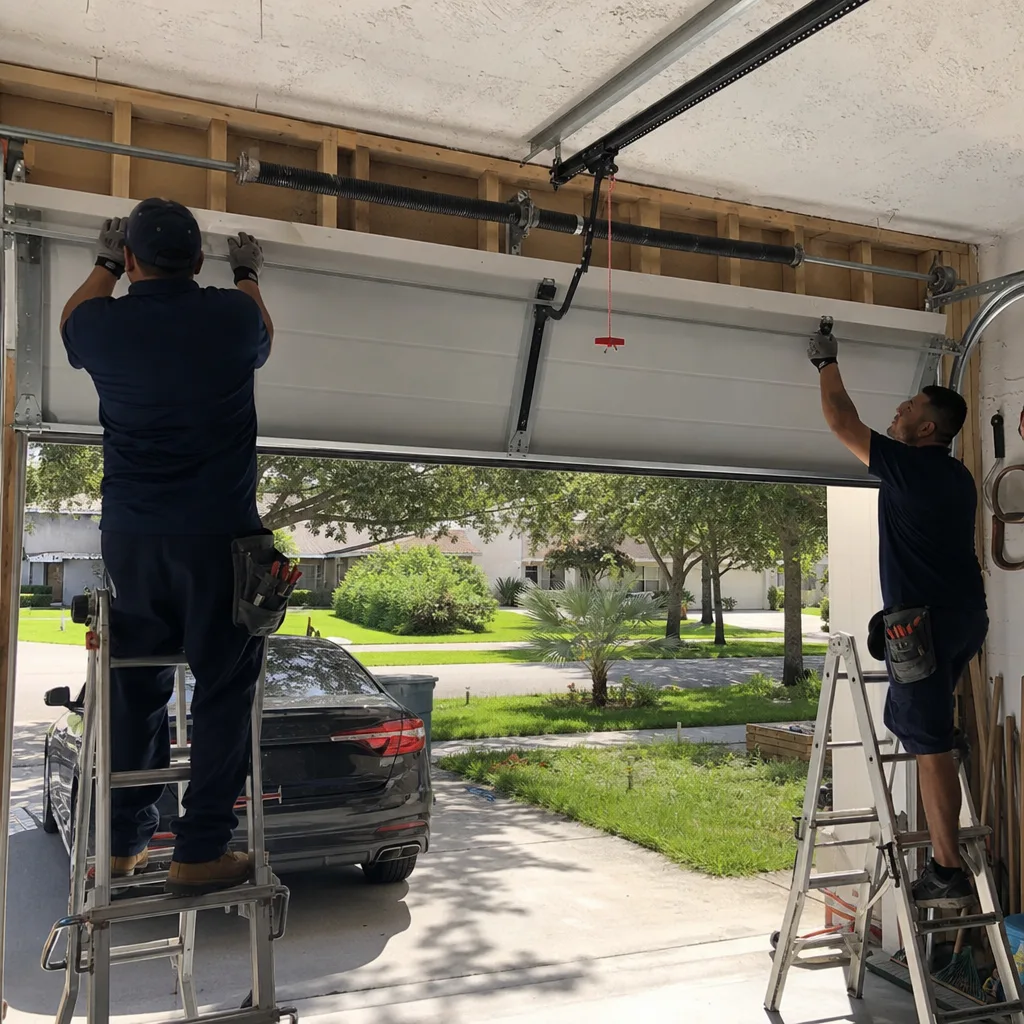
- Torsion spring replacement or tension adjustment. A residential torsion spring holds enough stored energy to lift a 150 to 400 pound door. When a spring fails, that energy releases suddenly. This is the one garage door repair where DIY attempts regularly result in serious injury or death. Even a professional treats the spring with full respect.
- Cable drum adjustment or cable replacement. The cables, like the springs, are under tension. If a cable jumps the drum or shows fraying strands, leave the door alone and call someone. Continuing to cycle the door after a cable problem makes the repair worse and more expensive.
- Track realignment or panel replacement. A track that is out of alignment puts lateral load on the roller bearings and the hinges, and eventually bends the door section. Straightening a track requires releasing the tension in the system first. A panel with a dent or delamination is a structural concern, not a cosmetic one.
- Opener motor or logic board replacement. The opener is a 120-volt appliance. Logic board failure, capacitor failure, and gear and sprocket stripping all require component-level repair, not resetting the limits.
The bottom seal gap tolerance is a number worth remembering: in Boynton Beach, the correct gap between the bottom seal and the concrete floor when the door is closed is zero. If you can slide a pencil under the seal, water will find the gap during a heavy afternoon thunderstorm. That is a replacement task, not an adjustment.
Common Mistakes to Avoid
- Skipping the pre-June inspection. Every year, the first time a Boynton Beach homeowner discovers their bottom seal is cracked is after a June downpour has already flooded the garage. The seal should be inspected in May, not discovered in June.
- Lubricating based on the calendar instead of the climate. A 12-month lubrication schedule is not enough for a door near the coast. The two-month interval recommended above is the realistic number for Boynton Beach humidity.
- Testing the auto-reverse with a hand. The manual for an older opener might suggest waving a hand in the photoelectric beam path to test the sensor. The modern standard is the 2×4 block test for the auto-reverse mechanism. A hand does not simulate the resistance of a body; a block of wood does.
- Ignoring a “slightly uneven” door. If the door sits 1/2 inch higher on one side at the floor, that is not cosmetic. The cables are carrying unequal loads, and the door will continue to drift until a cable snaps. A door that closes unevenly is a door that wants a technician.
- Replacing one spring on a two-spring system. A standard residential door in South Florida typically uses a two-spring torsion system. When one spring fails, the other has the same age and the same cycle count. Replacing both at once is standard practice and avoids a second service call within six months. A technician who insists on replacing both is not upselling you; they are preventing the inevitable second failure.
- Using the wrong lubricant out of habit. The can of WD-40 on the garage shelf works for door hinges in the house and bicycle chains. It does not belong on garage door springs. Once an aerosol product becomes a habit, it becomes a default, and the default is destructive on coated garage door springs in humid air.
- Failing to document. A homeowner who photographs the door twice a year has a running record that solves most diagnostic debates. A homeowner who relies on memory cannot tell a technician whether a rust bloom appeared last week or last year, and that distinction changes the recommendation.
When to Call a Professional
Call a technician when the door is visibly unbalanced, when a cable looks frayed or has jumped the drum, when a torsion spring shows a visible gap or a clean break, or when the door makes a new sound that you cannot trace to a specific hinge or roller. Each of those is a symptom of a system under strain, and the longer the door operates in that condition, the more expensive the eventual repair. A frayed cable, for example, is a $60 part and a standard labor charge if caught early. After it snaps, it often takes a track section or a bottom bracket with it.
Servo Garage Doors Boynton Beach offers free estimates in Boynton Beach and the surrounding communities. Call (754) 227-2243.
Frequently Asked Questions
Lubricate your garage door springs, hinges, and roller bearings every two months in Boynton Beach, not every 12 months as manufacturer booklets often recommend. The humidity and salt air near the coast degrade unprotected metal faster than the national average the manufacturer schedule assumes. A two-month interval keeps the components coated before rust has time to form. Call (754) 227-2243 if you need help identifying which parts to lubricate.
A basic garage door maintenance service call in Boynton Beach typically runs between $85 and $175, depending on what needs attention and whether any parts require replacement. At Servo Garage Doors Boynton Beach, the price is written down before any work starts - no exceptions, no surprises. That written price and written scope is Clause 1 of The Haven Standard, and it applies to every job, including maintenance. Call (754) 227-2243 for a free estimate.
Yes, most routine maintenance is safe for a homeowner: lubricating springs and hinges, tightening bolts, cleaning sensors, testing balance, and photographing everything for your records. The line is crossed at torsion springs, cables, and cable drums - these hold enough stored tension to cause serious injury if mishandled, and they require a trained technician.
Before June 1, inspect the bottom seal for cracks or stiffness, tighten all track bracket and hinge bolts, check both cable drums for even cable wrap, test the door balance at the halfway point, and run the auto-reverse test with a 2×4 block. Wind-rated doors in South Florida depend on proper hardware attachment, so loose fasteners are a real vulnerability, not a minor item. If any of these checks reveal a problem, call (754) 227-2243 - we’ll identify the issue and give you a written price before we touch anything.
Yes. Servo Garage Doors Boynton Beach offers a free second opinion on any written estimate from another company. Bring the paperwork, and our technician will document what we find with photos, give you a written price and scope, and let the evidence speak for itself. That photo-record approach traces back to the rule the company was built on in 2015: the customer sees the failed part before anyone quotes a replacement. For more guides & resources, explore our blog.
Yes, our service vehicles in Boynton Beach are stocked with common parts including torsion springs, extension springs, cables, rollers, hinges, bottom seals, and opener components including logic boards, gears, and limit switches. Most standard repairs are completed on the first visit. Call (754) 227-2243 and describe the issue - our team can confirm whether the part is likely on the truck and give you a written price before we send anyone out.
The Bottom Line
Garage door maintenance in Boynton Beach is a climate-specific task, and the standard manufacturer schedule will fail you about four months before you expect it to. Shorten your lubrication interval to two months, perform a real pre-hurricane inspection in May, and document everything with dated photos. The three measurements that matter - halfway hold, spring gap, and side gap level - will catch 90 percent of developing problems before the opener motor absorbs the strain. When something falls outside the DIY line, get a written price and a photo record from a company that works that way by default. For Garage Door Installation in Boynton Beach or Garage Door Opener Repair & Installation in Boynton Beach, the same written-price standard applies. Start with the May inspection this year, and the door will tell you what it needs.
Written by Marcus Deller, Owner at Servo Garage Doors Boynton Beach, serving Boynton Beach since 2015.